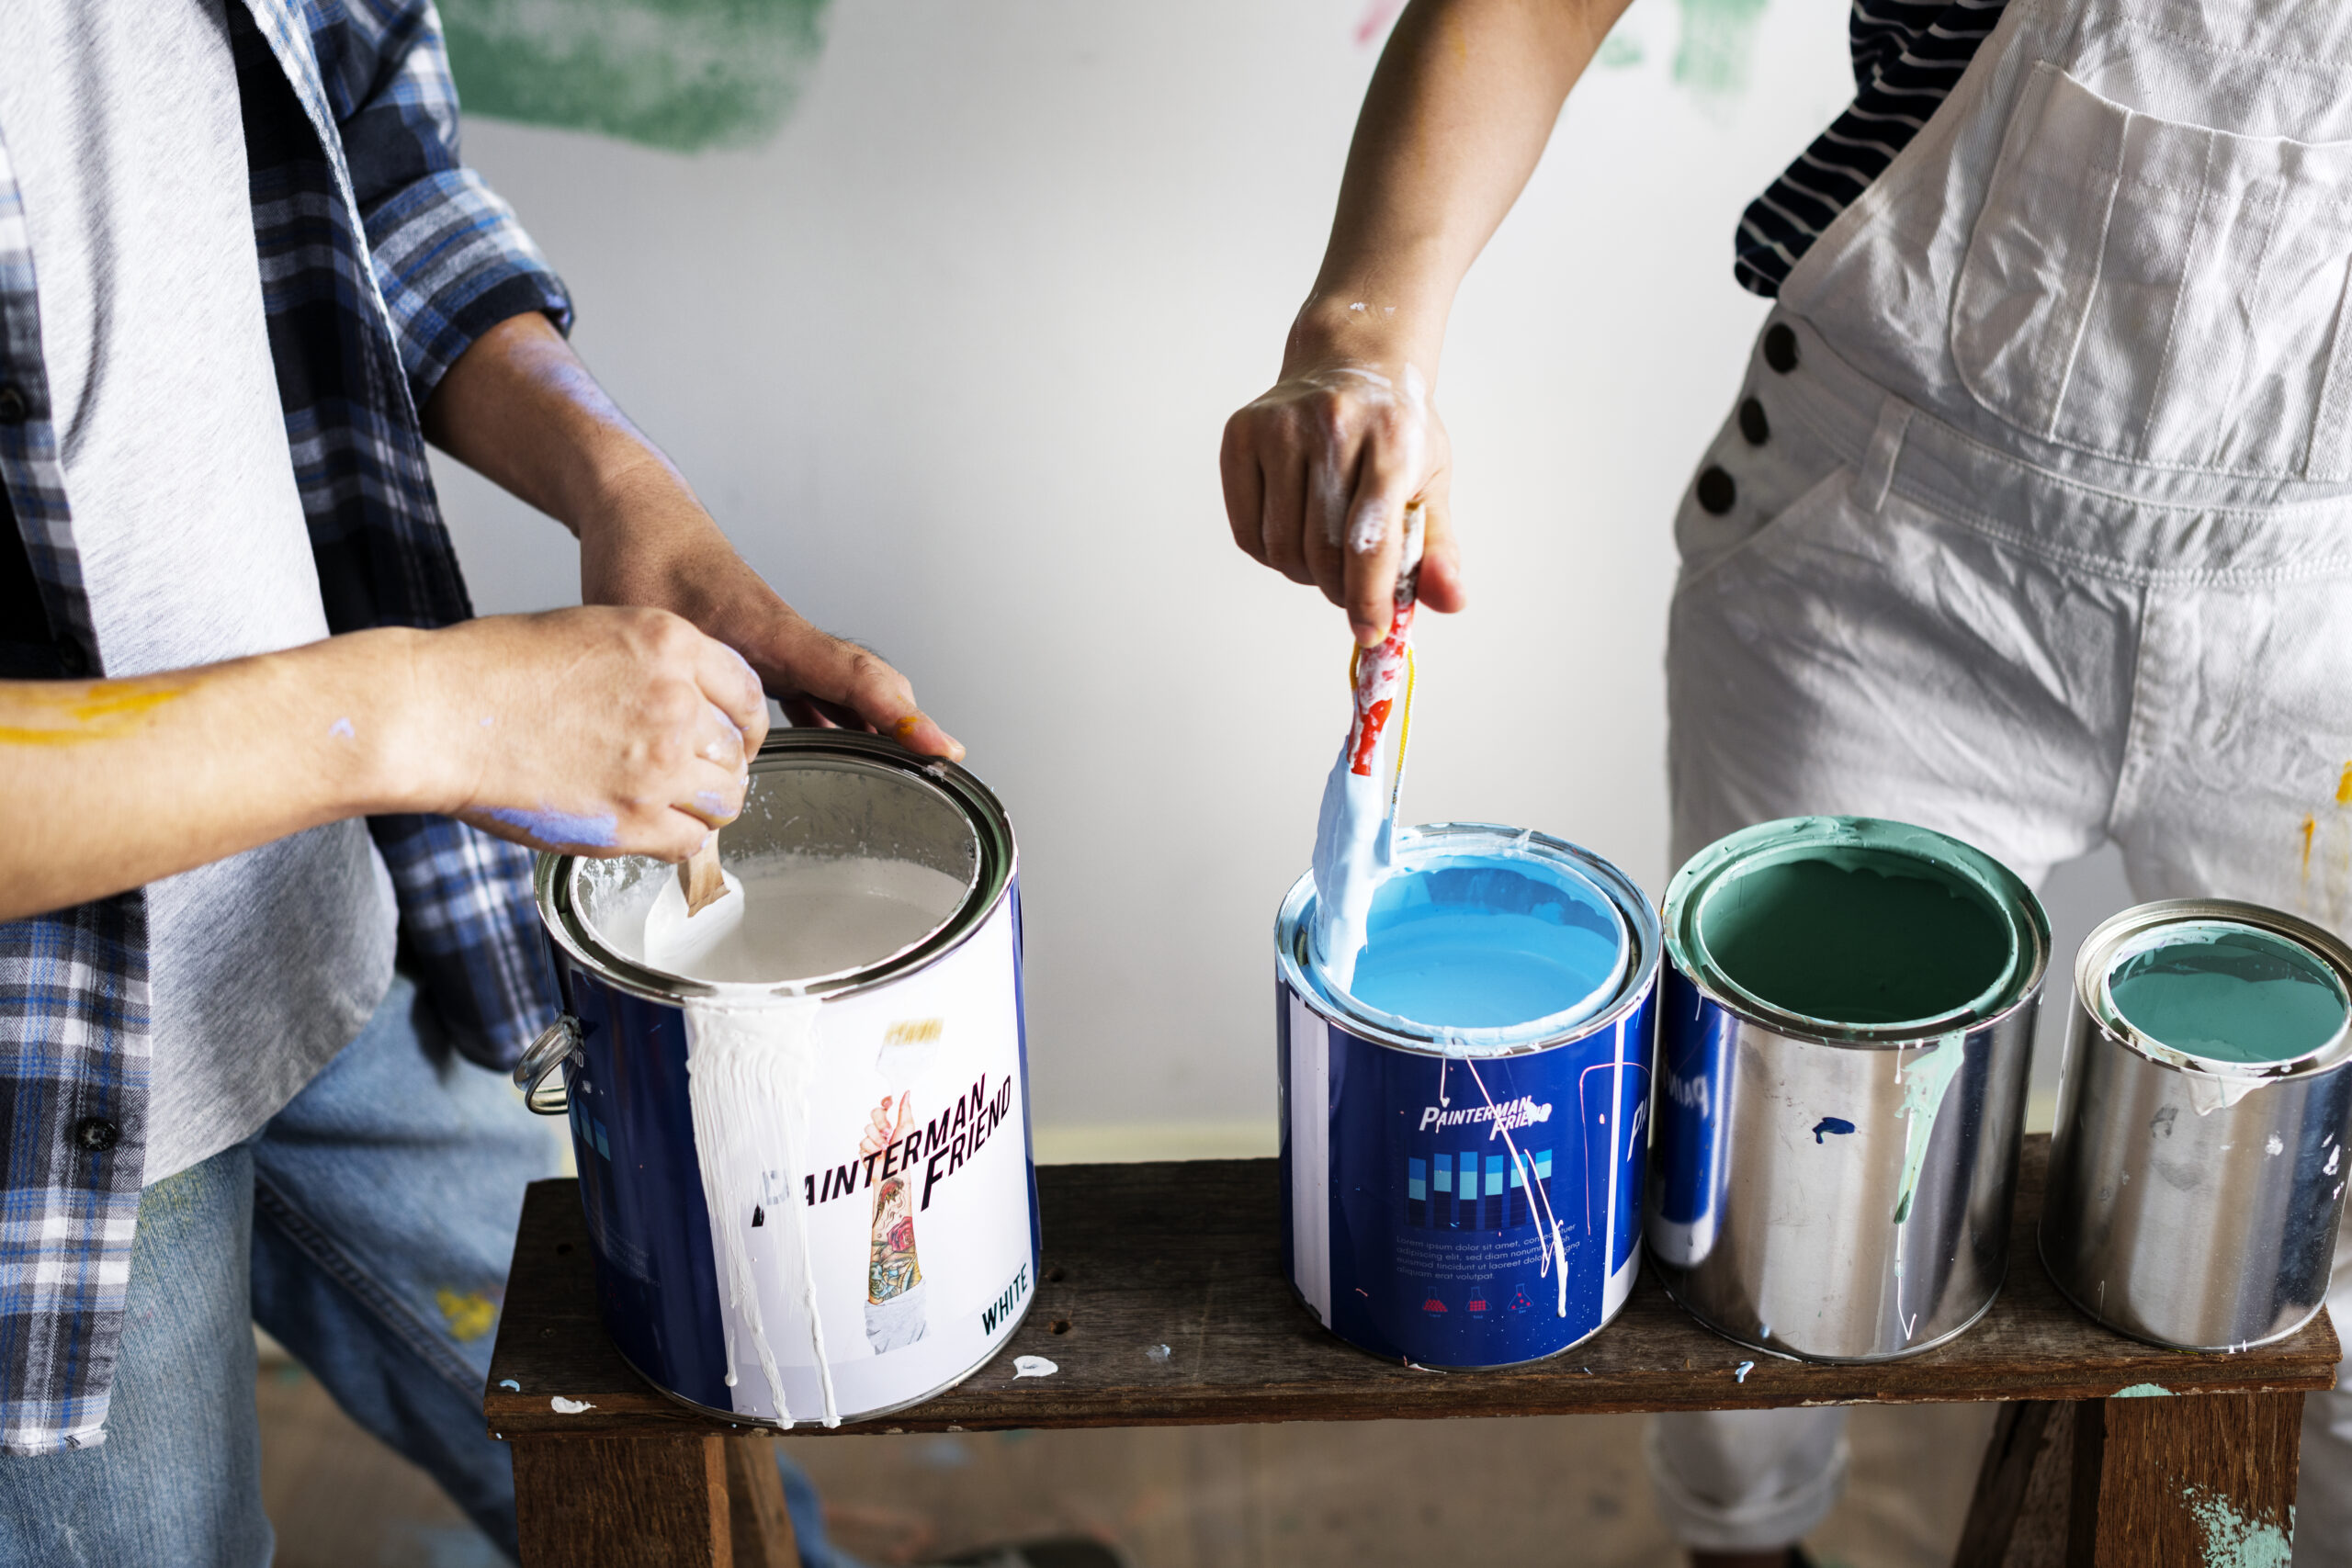
Do you find yourself staring at flaking paint on your walls, wondering how to restore their once-pristine appearance? Flaking paint not only detracts from the beauty of your home, but can also indicate underlying issues that need to be addressed. Fortunately, with the right tools and techniques, fixing flaking paint is a manageable task. We’ll walk you through each step of the process, from preparation to final touches, ensuring that your walls regain their smooth and flawless finish.
1. Assess the Damage
Before diving into repairs, take a close look at the affected area. Identify areas where the paint is flaking or peeling and determine the extent of the damage. Is the flaking isolated to a small section, or does it span across a larger area? Understanding the scope of the problem will help you plan your approach accordingly.
2. Gather Your Supplies
Once you’ve assessed the damage, gather the necessary supplies for the repair process.You’ll need:
- Sandpaper (medium grit)
- Putty knife
- Primer
- Paint that matches your wall colour
- Paintbrushes (various sizes)
- Drop cloths or old newspapers to protect your floors
Ensure that you have everything on hand before you begin, as this will streamline the repair process and prevent unnecessary interruptions.
3. Prepare the Surface
Start by using a putty knife to gently scrape away any loose or flaking paint from the affected area. Be careful not to damage the wall underneath. Once you’ve removed the loose paint, use medium-grit sandpaper to smooth out any rough edges and create a clean, even surface for painting.
4. Clean the Area
After sanding, wipe down the area with a damp cloth to remove any dust, dirt, or debris. Allow the surface to dry completely before proceeding to the next step. A clean surface will ensure better adhesion for the primer and paint.
5. Apply Primer
Primer is essential for promoting adhesion and proving a smooth base for the new paint. Using a paintbrush, apply a thin, even coat of primer to the repaired area, making sure to blend it seamlessly with the surrounding paint. Allow the primer to dry completely according to the manufacturer’s instructions.
6. Paint the Area
Once the primer is dry, it’s time to apply the paint. Use a clean paintbrush to carefully apply the paint to the repaired area, using smooth, even strokes. Depending on the colour and coverage, you may need to apply multiple coats to achieve the desired result. Allow each coat to dry completely before applying the next one.
7. Let it Dry
Patience is key when it comes to drying time. Allow the paint to dry completely between coats, following the drying time recommended on the paint can. Rushing this step can lead to uneven drying and compromise the final finish of your walls.
8. Inspect and Touch Up
Once the paint is dry, inspect the repaired area closely to ensure that it blends seamlessly with the surrounding wall. If you notice any imperfections or unevenness, use a small brush to touch up the paint as needed. Taking the time to fine-tune the details will result in a professional finish.
9. Clean Up
Finally, clean your brushes thoroughly with soap and water and dispose of any leftover paint or debris responsibly. Remove drop cloths or newspapers from the floor and admire your handiwork. Your walls should now look fresh and rejuvenated, free from the unsightly flaking paint.
Fixing flaking paint doesn’t have to be a daunting task. With the right approach and a little patience, you can restore your walls to their former glory and enhance the overall appearance of your home. By following the steps outlined in this guide, you’ll be well on your way to achieving smooth, flawless walls that you can be proud of.


